Process
From design to ready to wear.
Two workflows: embroidery made in Bandung, and punching delivered as stitch data.
Embroidery
Seven steps of embroidery.
From the first conversation to the finished order.
- 01
Consultation
You tell us what it is for, on what fabric, and how many. Send a design if you have one — or just describe it, and we take it from there.
- 02
Design preparation
The design is tidied and fitted to the size and the fabric it will be embroidered on. If something needs adjusting, we say so before going on.
- 03
Digitizing
The design becomes stitch data. Direction, sequence and thread density are set here.
- 04
Material selection
Thread colours are matched to the design. Thread type and backing are chosen for the fabric.
- 05
Embroidery
The stitch data runs on the embroidery machine. The first piece is checked before the rest are made.
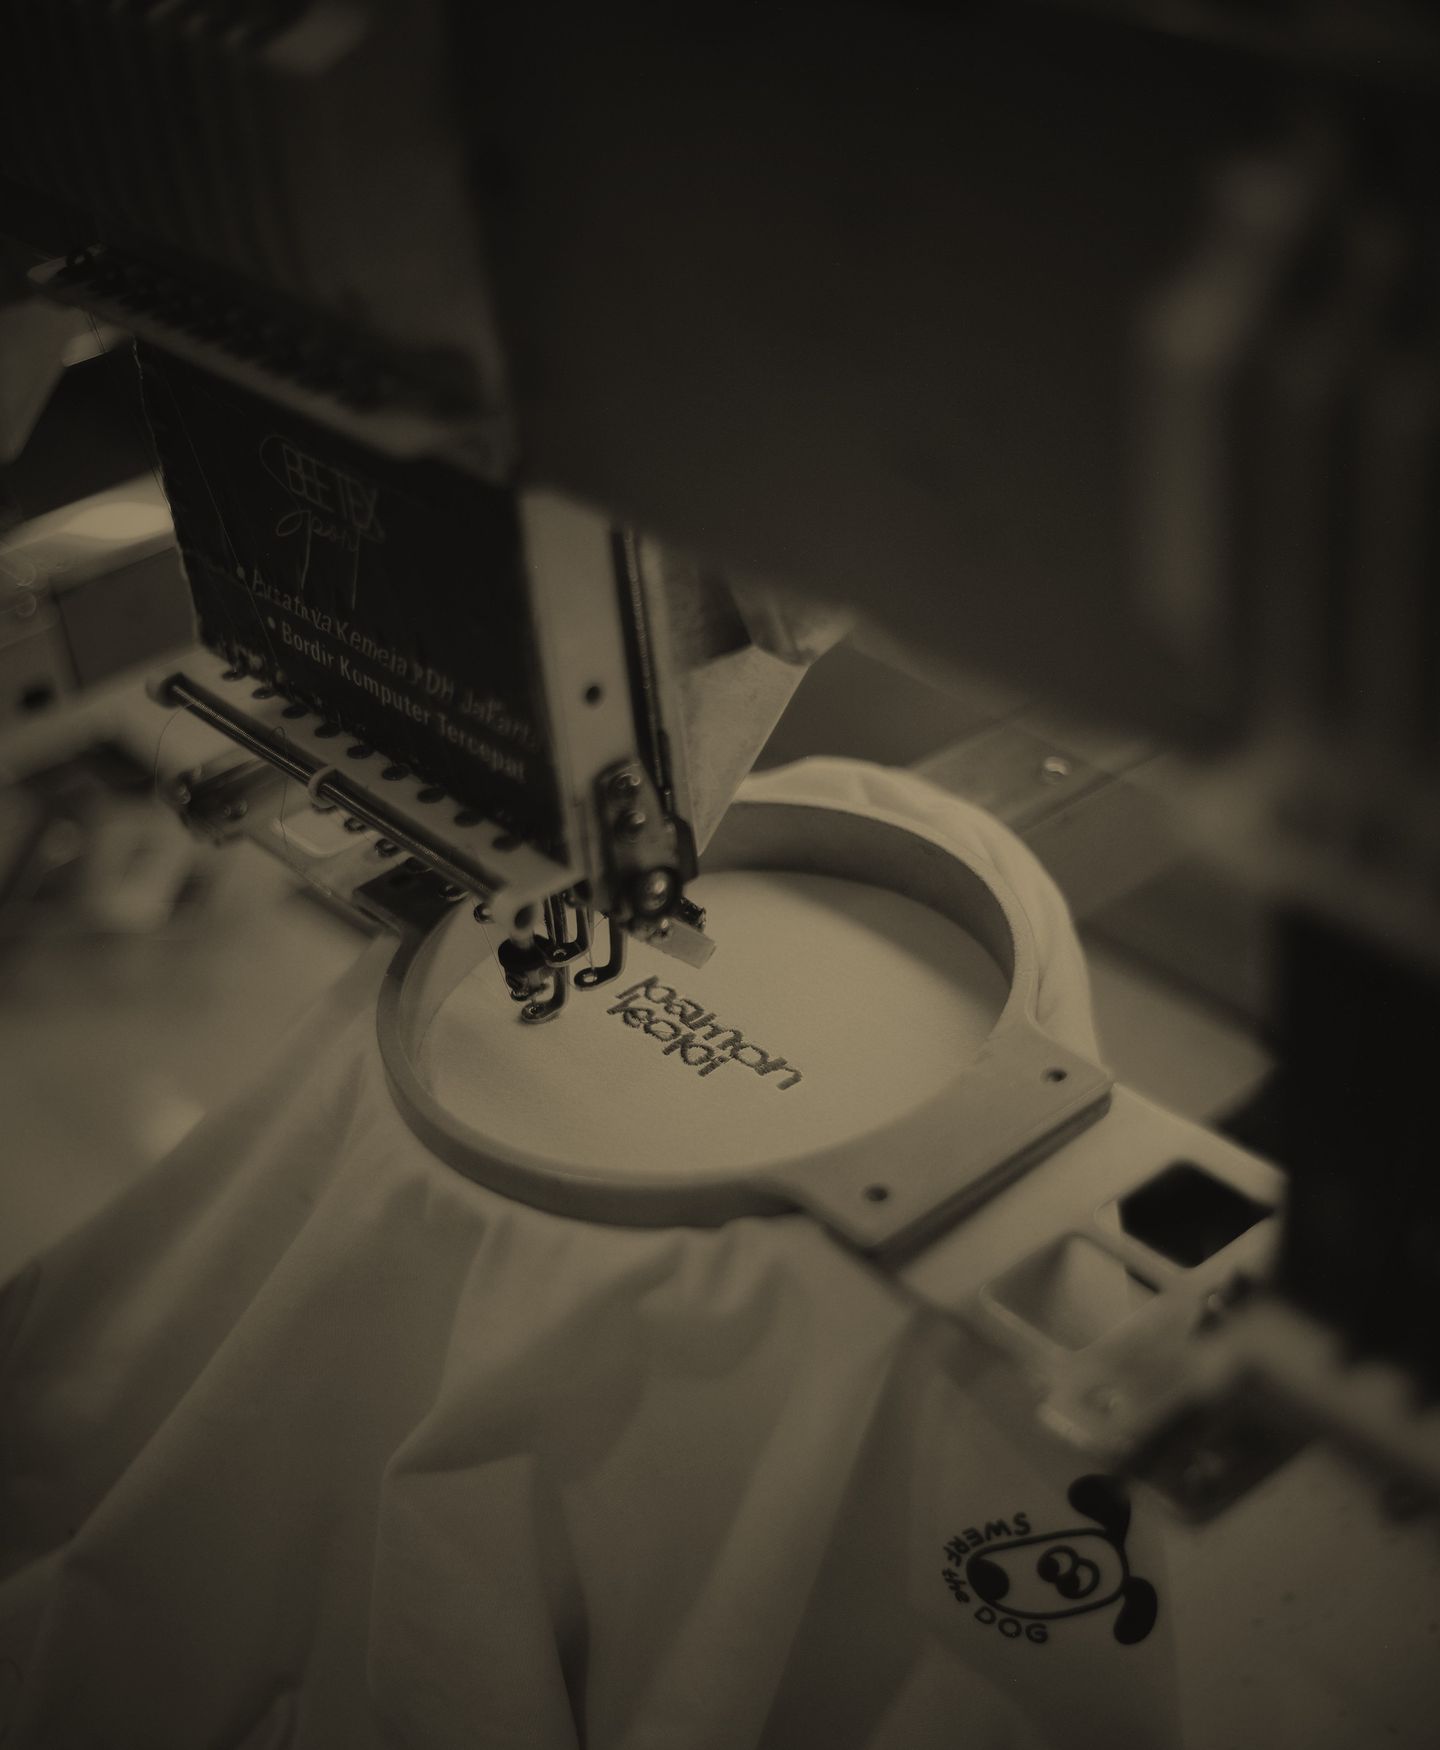
Illustrative photo - 06
Inspection
Every piece is checked: even stitching, true colour, a clean back.
- 07
Finished
The order is trimmed, packed and ready to hand over.
In the embroidery workflow, step 03 is punching. As a service of its own, punching runs in the five steps below.
Punching / Digitizing
Five steps of punching.
When all you need is the stitch data.
- 01
Send the artwork
Send your artwork with the intended embroidery size and the fabric it will go on.
- 02
Design review
We review the artwork: what can be stitched, what needs simplifying, and the colour sequence.
- 03
Digitizing / punching
The design becomes stitch data: stitch types, direction, sequence and density are set.
- 04
Adjustment
Where something needs changing, the stitch data is adjusted.
- 05
File ready to use
The stitch data is ready to run on your embroidery machine.
Ask about the process.
The steps, the materials or your design — ask on WhatsApp.